Shed Project, 03-07-2001
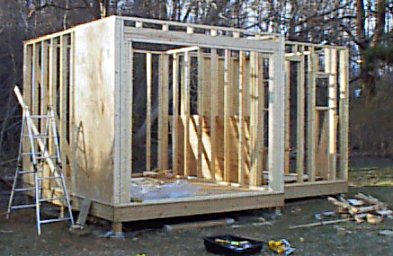
Another picture from the porch. This time both of the front walls are complete and in place. The window and door have been framed in on the right side and the garage door opening is framed on the left. You can also see that I have put 2 exterior wall sheets on (3/8" exterior sheating). They are primarily used as structural bracing right now.
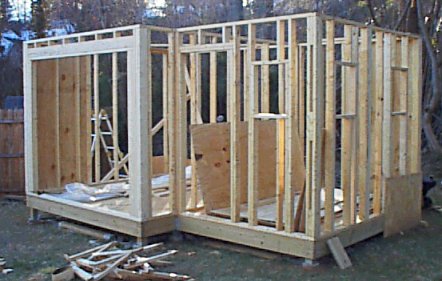
A photo from the other side. This picture shows the exterior sheet of plywood attached to the back and the window openings on the side wall. Due to a slight miscalculation the windows had to be added after the wall was in place. I do not recommend this... It is a lot easier to measure and build the window opening while the wall is being constructed on the ground than after it is in place.
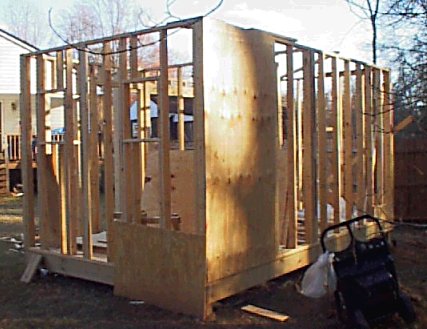
From the back you can see the entire exterior wall board and the side windows. The exterior boards are mounted vertically at the corners and attached with 6d nails every 4 inches around the perimeter and 8" across the center. To use the full 4x8 sheet I had to add another 2x4 at the 4' mark. I could have cut the sheet, but it was easier just to put in another 2x4.

This is A closeup of the header for the garage door. The header is made of 2 2x6 boards with a sheet of 1/2" plywood sandwiched in-between. This maked the header exactly as this as a 2x4 laying on it's side which made it really easy to build the header into the wall. I am hoping that this is enough to support the roof above the 8' garage door opening. I used small sections of 2x4 between the header and the top 2x4 of the wall space 16" on center, just like a normal wall.
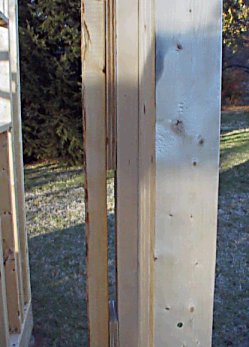
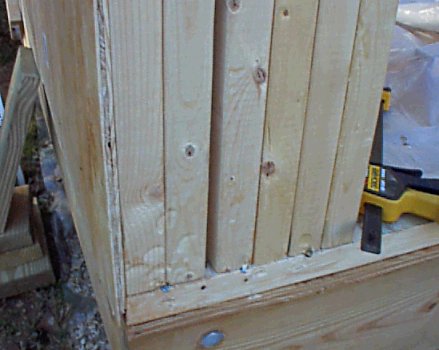
In this photo I am trying to show how I attached the front, garage opening wall to the center & side walls. Due to some issues with dimensions and nail lengths I used the 1/2" plywood to build the doubler/end brace instead of the normal 2x4. The 2x4 to thte right of the playwood was attached before the wall was put in place and the plywood was attached to the center and end walls. When the wall was in place I drove nails through the left 2x4 through the plywood and into the 2x4 that was already mounted to the wall. This should do the trick!
This picture shows a few things. First that my clamps came in really handed and acted as 3rd & 4th hands occasionally. 2nd you can see how I supported the wall board on the side so that I could install it as a one man operation. I set the 2x8 board on end with the end level to the bottom of the wall and then rested the 4x8 plywood on it. The main focus of this picture is the toe-nailing to keep the front wall in place. I drove nails in at an angle from both sides of the wall. You will also notice that the bottom 2x4 runs the full length. I will cut the section where the door is out. This just makes it a lot easier to assemble the wall on the ground and then it holds everything together as the wall is lifted into place.