Shed Project, 03-31-2001
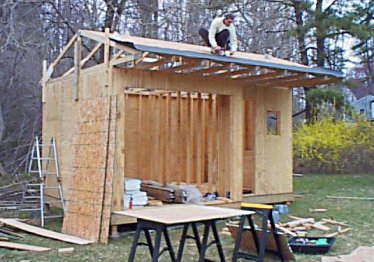
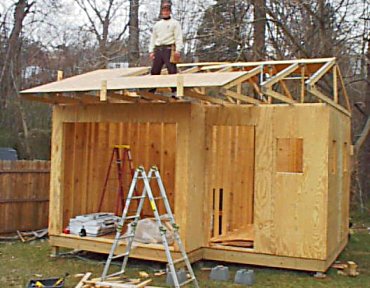
A lot of work has taken place since the last pictures with only 2 sheets of siding in plcae. All the siding is in place. I cyut the windows & doors out of the siding before I put the siding up. All the trusses are now in place too. You can see the bracing on the end of the shed that was used to hold the truss "plumb" with the side wall. There are small pieces of scrap side sheathing between the support braces and the end truss to keep the spacing correct. Jim is tacking down the first run of roof felt while I'm cutting the boards for the back side of the roof.
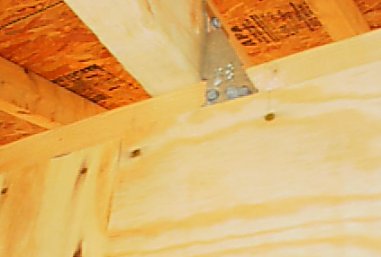
Here is a close-up of the hurricaine straps that hold the trusses to cap on the walls. Joist hanging nails were used to hold the straps. One strap was used on each end of the truss and the other side (without the strap) was toenailed to the wall.
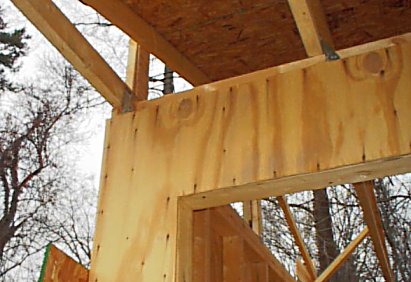
This is just another picture to help show how the straps were used.
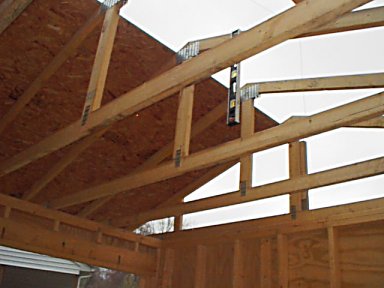
This picture is from inside the shed looking up at the trusses & the half complete roof.
While putting up the roof board scraps of 2x4 were used to keep the roofing boards even with the ends of the trusses, it was a lot easier than hanging onto the board while nailing.
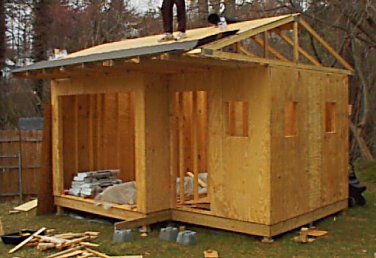
This picture shows the other side of the shed with the first row of felt in place. The trusses took an antire day and the roof was finished in one day a week later (no shingles, just felt).