Shed Project, 04-11-2001
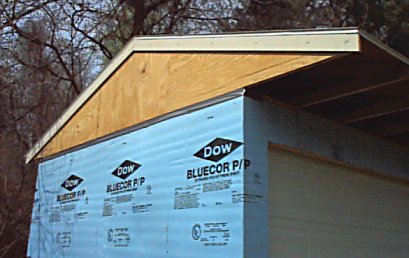
In this picture you see a little of the "bluecor" insulation, but I'm really trying to show the siding installed on the end truss and the "pre-primed" 1x6 boards on the gables with drip edge installed. Duct tape is used to seal the insulation and it was also used to temporarily keep water from behind the insulation between being able to work on the project.
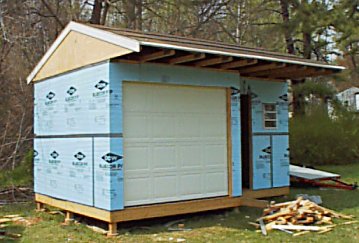
Standing back a little way you can see the insulation is wrapped around the shed and requires 2 rows of insulation (4' wide per bundle, it comes packaged folded, like an accordian)
When installing the insulation here are a few notes; Always place a "factory bend" at the corner of the building then work your way to the next corner. When you get to the next corner stop short and cut off the insulation. Start with a factory bend at the second corner being sure to overlap some where you just left off and where you stated. After it is nailed in place use a razor place and cut through both sheets of insulation where they overlap, this will make a nice tight fit (use this technique anywhere you need to have 2 sheets butt together).
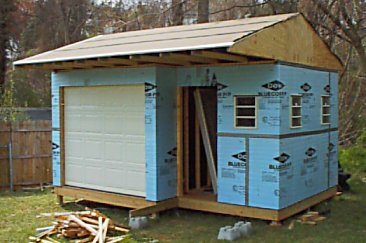
All of the seams are covered in duct tape to make them water "resistant". The windows are now permanently installed caulk, screws, the works! One thing I overlooked was that the utility windows are not designed to ft in walls as deep as 2x4s make (3.5"). The winding mechanism to open the panes doesn't work quite right, I'm sure I'll figure something out.
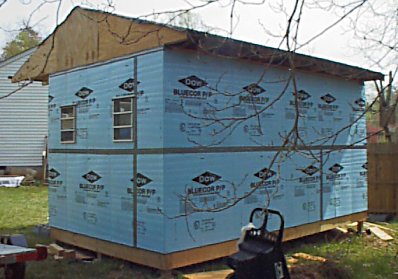
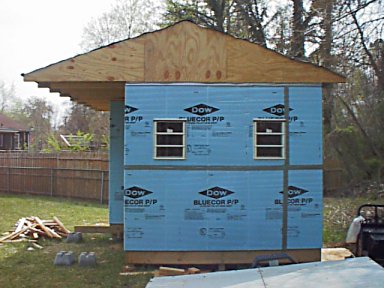
I think this might be the first picture of the back of the shed.