Shed Project, 06-17-2001
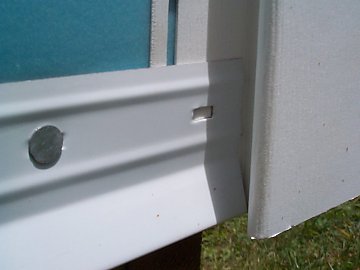
This is a close-up of the aluminum starter strip where it goes into the outside-corner piece. The aluminum starter is what holds the first strip of vynl siding in place.
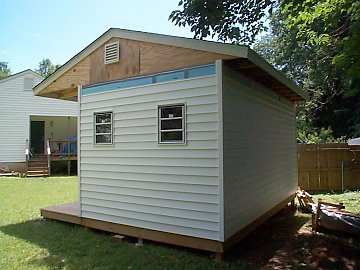
I attempted to imitate the pro (my brother-in-law) that did the front siding & window and do the side on my own. From a distance (a very far distance) it looks great. If you get up close you can see that this is my first time. You need really sharp shears with pointy tips to cut the J-channel just right. Actually, I am very happy with the results. You can also see that I completed the back wall in this picture.
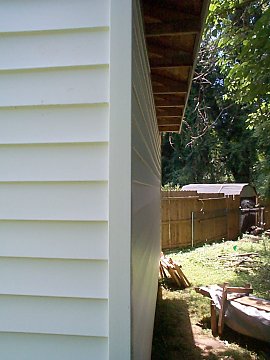
This is a close-up picture of the back wall. If you look closely you can see a wave in the siding closest to the camera about 3/4 of the way up. This wave is the result of two things. First, the plywood exterior sheathing warped some since the shed stood out in the weather so long while it took me forever to put a roof on. Second, you need to be very careful about driving the nails into the siding. By adjusting how tight or loose the nail is against the siding you can eliminate any waves like this. The nail should never be tight against the wall since that keeps the siding from being able to move when it expands or contracts due to temperature. On the other hand, as you look down the siding you just hung, if you see a wave you can tap the nail a little tighter if the siding waves to the outside or you can pull the nail a little looser if it waves to the inside.
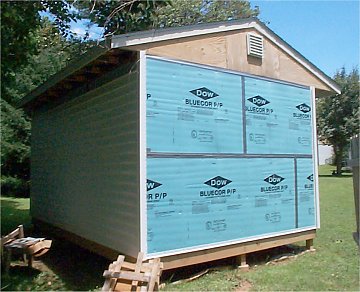
In this picture you see the completed backside again and the unfinished storage shed side. I will be finishing this side next week, then the only siding left to do is the garage door opening and the gables.